Embroidery is an incredible method to add style and detail to a piece of clothing. However, if you need to alter your perspective on the plan, you’ll need to remove the embroidery from the garment piece. Fortunately, this is easy to do. Let us guide you through the process of removing an embroidered patch from a piece of clothing with a few simple steps.
Tools Required
- Seam ripper
- Tweezer
- Project scissor
In this blog, we will cover both types of embroidery to provide a comprehensive guide. Let’s begin with uncovering the handmade embroidery from a shirt.
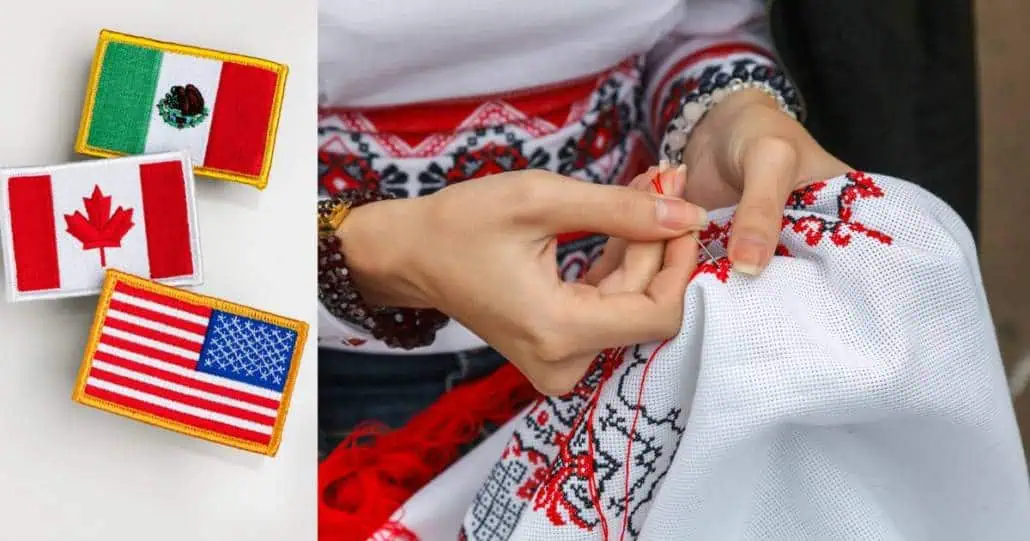
Removing Hand Embroidery From a Shirt
- STEP 1
Turn the shirt around so that the rear of the woven area is facing forward. Slide your hand inside the shirt. So, the segment of the finger is lying on your palm.
- STEP 2
Take the seam ripper and delicately slide it under a little part of the lines (five to six). Delicately push the crease ripper forward to cut the lines.
- STEP 3
Turn the shirt right-side out and use the tweezers to haul each string out. Quit pulling if there is any obstruction. Repeat steps 1, 2, and 3, working in small areas. You can use the magnifying glass if you reach a detailed segment and need to characterize where the fasteners cover. Now you can use the set of tweezers and scrub brush to remove the unwanted strings after you have removed the embroidery joints.
Removing Machine Embroidery From a Jacket
Removing machine embroidery is fundamentally the same as eliminating hand-stitched embroidery. However, it’s a complex number with a small digit. You will require comparative tools and should complete a comparative cycle with little changes. Start the cycle a similar way you would if you were taking out handstitched embroidery.
- STEP 1
Turn the apparel thing back to the front, slide your hand inside, and have the woven part rest in your palm.
- STEP 2
Next, look for a white bobbin string; it may be a little dubious, as the fastenings are much more modest than the lines of hand-stitched embroidery.
- STEP 3
When you spot it, embed the crease ripper in a similar way to the past. This time, you will go under 30-40 lines without a moment’s delay.
Extra Tips
- Always make sure to wash your hands before beginning work to avoid recoloring the texture, particularly when dealing with line checks.
- Don’t use tape to remove the strings from textures, for example, chenille embroidery or velvet.
- If you regularly remove machine embroidery from ventures, you can invest in an electric fastener remover. It will make employment substantially less tedious.
- You can use a needle and string to darn a little opening made by a seam ripper.
- Use a pair of tweezers with a magnifying glass attached to assist you in seeing clearly.
Removing embroidery patches is often regarded as a challenging task to accomplish. However, we believe that now, at this point, you realize how easy and simple it truly is. This is the simplest method for removing a logo from a shirt, coat, or jacket. Plus, it prevents fabric damage and helps you remove ripples from an embroidered patch.
FINAL ADVICE
Now that you’ve gotten rid of unwanted embroidery on clothing, it’s time to revamp with new ones. Patch Mania is the premier custom-made patch manufacturer in the U.S. We offer free digital files with every order, and there is no delivery cost. For online help with quotes and embroidery issues, you can always contact our quick-response representatives. Get your customized embroidery patch at your doorstep within 10 working days now.