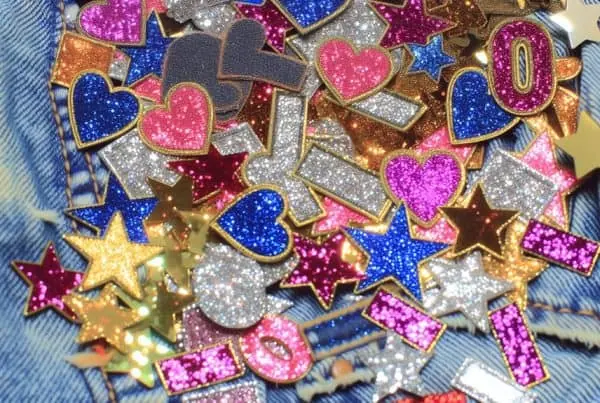
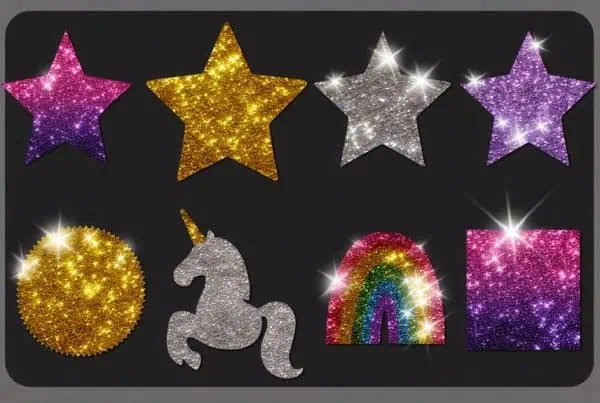
Before designing a customized logo for an embroidered patch, it’s essential to start with a clear concept that aligns with your actual needs. It should provide the right exposure for your brand name if you are conducting promotions. Also, it must attract the audience towards the correct message you want to convey. Choosing the right colours and fonts can significantly impact the overall look, but keeping things simple is crucial to enhance clarity. To make the whole process smooth, consider how it will translate onto fabric as you refine your design. I have summarized into 5 steps you’ll want to consider to ensure your patch stands out effectively.
#1 Concept Creation
Defining your concept is the first step in designing a custom logo for your embroidered patch. You must consider what message or feeling you want your patch to convey. Is it for a team, a brand, or a personal project? Consider your target audience and what resonates with them. Jot down keywords or phrases that capture the essence of your concept. Visualize how elements like shapes, symbols, and style can effectively communicate your idea. Take this initial concept to your designer and get him on board with what elements, scratch and font are ideal. He is the right person at this stage to advise on logo customization.
#2 Colors Selection
It’s time to deal with colour palettes. Colours play a vital role in designing a customized logo. Personalized logos often face trouble when embroidering under a machine. It has limitations for embroiders regarding the number of colours. You should take your embroidery digitizer in the loop, tell him the size you want and ask for the number of colours possible for perfect stitching. Think about your brand’s personality and target audience when selecting your palette. Start by considering the emotions different colours evoke. For instance, blue conveys trust, while red grabs attention. Limit your choices to two or three main colours, as too many can confuse and detract from the clarity of your logo.
#3 Font Selections
Selecting suitable fonts is key. Only the right typography can enhance readability and reflect your brain. Ensure the font style aligns with the overall vibe. Match your brand, whether it’s playful, professional, or vintage. For instance, bold sans-serif fonts often convey a modern feel, while script fonts can add a touch of elegance. At this stage, a graphic designer and embroidery digitizer will help you conclude without overly decorative fonts. They will also limit you to two or three fonts to maintain cohesion and ensure they complement each other. Test your font choices in pre-production proof to see how they look on your patch.
#4 Ensuring Simplification
Simplification is necessary. Remember, a clean, straightforward logo works best for embroidered patches. Keep a strong eye from step #1 throughout to finish. Keep eliminating unnecessary elements that might clutter the overall look. Limit yourself to two graphics that represent your business logo. Remember, bold shapes and limited colours are your friends. Aim for a design that is easily recognizable from a distance. Consider how your logo will appear at different sizes; it should remain clear and impactful when scaled down.
#5 Test Run for Embroidery
After all these useful steps are followed properly, there is still a chance for a mishap. Turning customized logos into embroidered patches needs a machine-run sample. Remember, the fabric, machine type, and even the model of the embroidery machine deal with each design differently. I would highly recommend running a sample test on one PC before bulk printing. This allows you to see how your logo appears when stitched, revealing any issues with detail or clarity. Pay attention to thread colours; they can appear different once embroidered. Adjust the design if elements get lost or blend into the fabric. Consider the stitch count as well; too many can cause distortion and higher cost, while too few may not capture the details.
Getting Cheap Pricing on Embroidery Patches
To obtain affordable pricing on embroidery patches, it is essential to understand the entire process. Now that you know the 5 steps to design a custom logo, what if I told you that all these steps are completely free? Yes, that is true; with Custom Patches Mania, you get logo design, embroidery digitizing, and machine samples, all free of charge. You can send any raw image of your already created logo for an embroidery test, or call our quick and responsive team to share your idea. Our expert designer will sketch down your logo from your mind and show you free mock-ups. No matter how many edits you need, you will not be charged until you are fully satisfied with the preview. So, all you need to do is contact Team Patches Mania and get your design process started. Happy Designing!