When you want to add a patch to your hat, it’s crucial to start with the right materials and a clear process. You’ll need your patch, an iron, and a thin cloth to protect the fabric from the heat. Before you begin, ensure your hat is clean and laid flat, as this will significantly impact the final look. Positioning the patch correctly is crucial, but there’s a specific technique to ensure it adheres properly. Curious about the steps and tips that can enhance your patch-application skills? Let’s find out the quickest step-by-step execution.
Collecting Required Materials
Before you begin, it’s essential to gather all your materials.
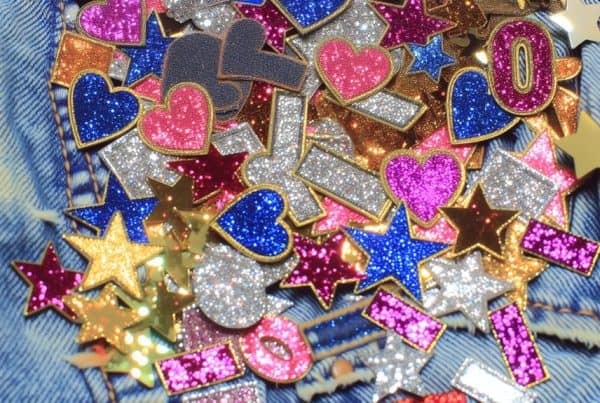
You’ll need your patches, of course, so pick designs that you love and want to showcase on your hat.
Next, grab a sturdy iron; make sure it’s clean and functional.
You’ll also need an ironing board or a flat surface that can withstand heat.
Remember to bring a piece of cloth, such as thin cotton or a pressing cloth, to protect your patch and hat from direct heat.
Lastly, have a spray bottle filled with water handy, as it can provide extra moisture when needed.
Once you have everything ready, you’re set to move on to the next steps in this exciting project!
Getting Ready With A Hat
To ensure a smooth application, start by laying your hat flat on the ironing board. Ensure it’s well-stretched and free of wrinkles, as this will help the patch adhere properly.
If your hat has a structured brim, avoid placing it directly on the board; instead, use a small towel or a soft cloth underneath to protect it.
Check for any dirt or debris on the surface—clean it gently with a damp cloth if needed.
Once you’ve prepped the hat, it’s a good idea to heat your iron to the appropriate setting for the fabric type. Let it heat up while you double-check that your workspace is clear and ready for the next steps.
Positioning the Patch
Once you’ve prepared your hat, it’s crucial to position the patch carefully where you want it to stay.
Start by laying your hat flat on a clean surface to get a better view. Decide on the exact spot—centered on the front or slightly off to the side—whatever suits your style. Use a measuring tape or ruler for precision if needed.
Once you’ve chosen the spot, hold the patch in place with one hand. Step back and visually assess its alignment before finalizing. If you’re satisfied, you can use a fabric marker to lightly trace around the patch, marking its position.
This will ensure you don’t accidentally shift it during the next steps. Remember, once it’s ironed, it’s set!
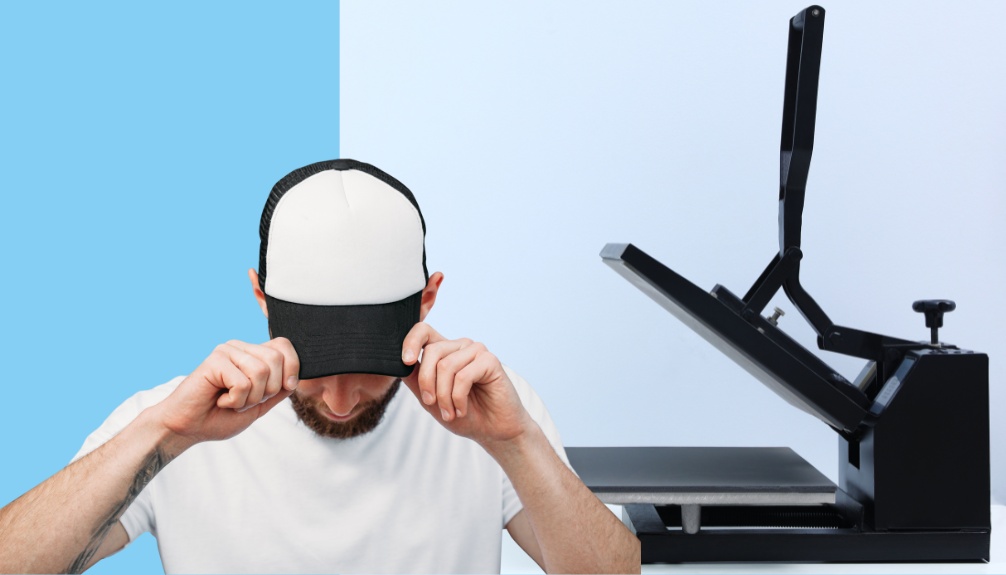
Ironing the Patch Onto Hat
With the patch securely positioned and marked, it’s time to iron it onto your hat.
- Set your iron to a medium heat setting without steam.
- Place a thin cloth or parchment paper over the patch to protect both the patch and the hat.
- Firmly press the iron down on the patch for about 15-30 seconds, applying consistent pressure.
Cover the entire patch to ensure even heat distribution. After the time is up, lift the iron and check if the patch has adhered properly. If the edges are still loose, repeat the process.
Once you’re satisfied, remove the cloth, and let the patch cool completely before handling your hat again. You’ve successfully ironed on your patch!
How Can I Use My Favorite Hat for a Long Time?
Caring for your hat is essential to keep it looking fresh and extend its lifespan. If your hat gets wet, reshape it and let it air dry away from direct sunlight to prevent fading. For stubborn stains, spot clean with a mild detergent and a damp cloth, avoiding harsh chemicals.
When storing your hat, use a hat box or a shelf to maintain its shape; don’t crush it under heavy items. If it’s a fabric hat, consider using a lint roller to remove pet hair and lint.
Lastly, excessive folding or bending should be avoided to preserve its structure. With these tips, your hat will stay in great condition for years to come!
Can I Use a Steam Iron for Patches on Hats?
You can use a steam iron for patches, but it’s best to avoid too much steam. Excess moisture can loosen the adhesive. Instead, use a dry heat setting for better results while applying the patches.
What Types of Patches Are Best for Hats?
When choosing patches for hats, consider embroidered or woven patches. They’re durable and add a nice texture. A merrowed edge is recommended.
How Do I Remove a Patch if Needed?
To remove a patch, heat an iron on low, then gently lift the patch with a flat tool. Slowly peel it off, ensuring you don’t damage the fabric. Clean any residue afterward for a neat finish.
Will Ironing Damage My Hat’s Fabric?
Ironing can indeed damage your hat’s fabric, especially if it’s delicate or synthetic. Always check the care label first, and if you’re unsure, consider using a lower heat setting or a protective cloth.
Can I Sew Patches Instead of Ironing Them?
Yes, you can definitely sew patches instead of ironing them. Sewing provides a strong hold, so check out this blog to learn more.
Check out
Patches 4 Hats
Buy Inexpensive
Custom Hats