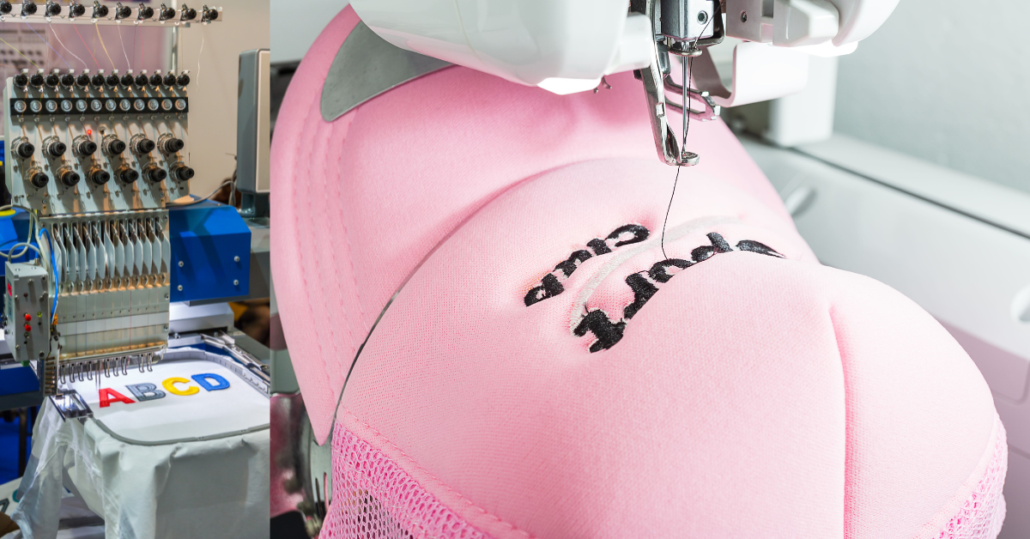
Sew a patch on a hat, is adding value to money for durable use as well as giving a personal touch. Doing it perfectly need you to gather a few essential materials, from the patch itself to the right tools. It begins from choosing right patch for hat. Once you’ve chosen a patch that suits your style and fits your hat, you’ll want to prepare the surface to ensure a smooth application. But the real challenge lies in the stitching process, where precision is key to achieving a clean, professional look. Let’s explore the steps that can make or break your patching endeavor.
Grabbing Required Stuff
Before you start sewing a patch on your hat, you’ll need to gather your materials. First, grab the patch you want to attach. Make sure it’s the right size and design for your hat.
Next, you’ll need a needle and thread; choose a color that complements your patch. If you prefer, you can use fabric glue for a quicker option, but sewing ensures durability.
Don’t forget scissors to trim any excess thread once you’re done. A thimble can protect your fingers if you’re sewing through thick fabric.
Finally, find a flat surface to work on, ensuring you have good lighting to see your stitches clearly. With everything in place, you’re ready to start sewing!
Pick the Right Patch
Selecting the right patch can make all the difference in how your hat looks and feels. Start by considering the style and purpose of your hat. Do you want a fun, quirky design or something more subtle and classic? Look for patches that reflect your personality and interests.
Next, think about size and placement; a patch that’s too large may overwhelm the hat, while a tiny one might get lost. Also, pay attention to the material—embroidered patches add texture, while printed ones offer vibrant colors.
Make sure the patch’s backing is suitable for sewing; woven or twill patches are generally easier to work with. Ultimately, choose a patch that resonates with you and complements your hat’s design.
Ensure Your Hat Is Ready
Preparing your hat is a crucial step to ensure the patch adheres properly and looks great. Start by selecting a clean, dry hat, free from dirt or oil. If your hat has any existing embellishments or decorations, consider removing them to create a smooth surface for the patch.
Next, decide on the patch’s placement; hold it against the hat to visualize how it’ll look. Once you’re happy with the position, mark the spot lightly with a fabric chalk or pencil.
If your hat is made of delicate materials, use a pressing cloth to protect it when ironing, if necessary, to flatten any wrinkles. This preparation lays the groundwork for a professional-looking patch application.
Sewing the Patch Onto Hat
With the patch in place, you’re ready to sew it on. Thread your needle with a sturdy thread that matches the patch or hat color. Tie a knot at the end of your thread.
Start from the inside of the hat, pushing the needle up through the fabric near the edge of the patch. Pull the thread tight, then insert the needle back down through the fabric, creating a small stitch.
Continue this process, making even stitches around the patch’s perimeter. Aim for a distance of about 1/8 inch between each stitch for a consistent look.
If you encounter any bulk in the fabric, adjust your stitching as needed. Keep sewing until you’ve secured the patch completely.
Finishing Touches
Once you’ve secured the patch, it’s time to add the finishing touches that will enhance its appearance.
Start by trimming any excess thread around the edges to give it a clean look. If the patch has any loose threads, carefully snip them away for a polished finish.
Next, consider adding a fabric stiffener or spray to help the patch hold its shape over time. If your hat allows, you might also want to iron it gently on a low setting to smooth out any wrinkles.
Finally, check the overall alignment and ensure the patch is securely attached.
Can I Iron on a Patch Instead of Sewing It?
Yes, you can iron on a patch instead of sewing it. It’s a quick and easy method that saves you time. Just make sure the fabric is heat-resistant, and follow the patch’s instructions.
What Type of Thread Is Best for Sewing Patches?
For sewing patches, you’ll want to use a strong, durable thread like polyester or nylon. At Patches Mania, we use viscose, which is most durable thread for embroidery.
Can I Sew a Patch on a Leather Hat?
Yes, you can sew a patch on a leather hat. Just make sure to use a leather needle and thread, and be gentle to avoid damaging the material while ensuring the patch adheres securely.
How Do I Clean a Hat After Sewing on a Patch?
After sewing on a patch, you can clean your hat by gently spot-cleaning it with a damp cloth and mild soap. Avoid soaking it, and let it air dry to maintain its shape and integrity.
I'm a writer and embroidery enthusiast who is passionate about quality craftsmanship. I feel spiritual to share and review custom made products with a wider audience. I love writing SEO stuff for targeted market.
https://www.patchesmania.com/wp-content/uploads/2025/01/puff-emb.png6281200Majidhttp://patchesmania.com/wp-content/uploads/2022/07/Patch-Mania-logo-2.pngMajid2025-02-05 00:19:022025-02-17 06:26:25How To Sew-On Custom Patches Onto Hat
0replies
Leave a Reply
Want to join the discussion? Feel free to contribute!

Leave a Reply
Want to join the discussion?Feel free to contribute!