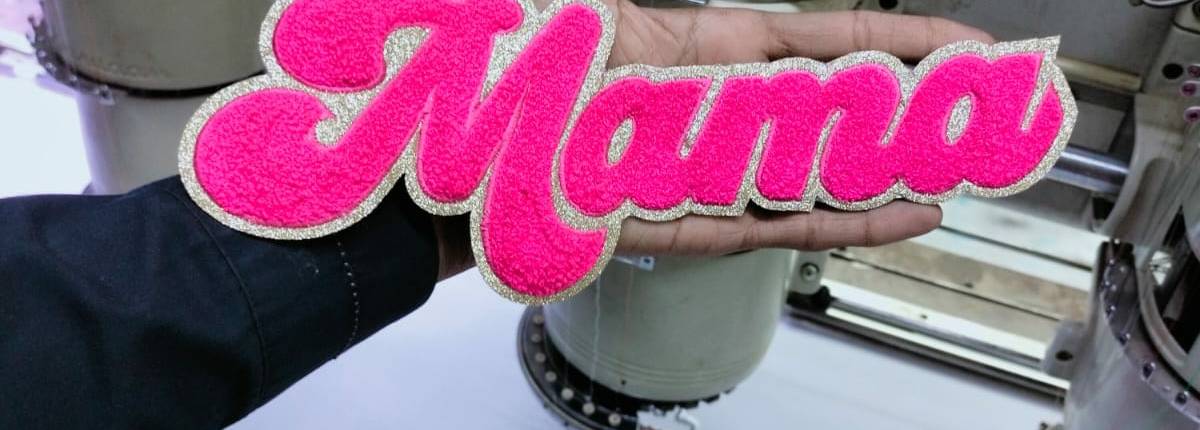
Ironing your chenille patch requires one of two roles. You can do it yourself or find a valid patch supplier who can heat press for you.
Here are 3 things you must know before getting started;
- Make sure that you’re going to apply patches that can be ironed on. This is very important because there are chance you bought a non-iron-on or sew-on-only patch.
- To begin with, applying your first chenille letter/patch you need a flat table. This clean surface can be a bed of your heat press machine in case you are not doing it using a regular iron at home which is used for ironing clothing.
- Make sure the target garment does not have creases or crumples. It is mandatory to clean up so your patch should stick properly and don’t peel off.
WHAT ARE PLACEMENT AREAS FOR A GOOD PATCH
There are several places you might need to iron on your patch. Here are hot spots for chenille patching on clothing.
- Front of Sweatshirt/Varsity Jacket/Hoodie
- Back of the jacket/Vest/Letterman Jacket
- Sleeve of the jacket/Varsity/Leather Jacket
- Left breast of Tees/Work-shirt/Unifrom
We are taking this how to guide in perspective to the front of the clothing. There are two ways you can make this tutorial useful and I am going to take each way step by step below.
Ironing On Using Heat Press Machine
Wear up your clothing to the bed of the machine keeping the target place right under the heating element.
- Turn on and let your ironing machine heat up for press. The recommended temperature for the chenille patch is 320 F with 15 Sec of timer
- Find your place and use paper tape to stick your patch on it.
- Place the adhesive side of the patch down and the front side faces up.
- Use a plain fabric (ideally a plain tea towel) to place over the patch as a barrier to the yarn. It should halt the damage and pass through the required heat at the best level. You can also use twill fabric or any extra tee shirt as a barrier spot.
- Now press the upper heating element of the machine and hold on. Again, it’s 15 sec for a chenille patch and 20 seconds for regular embroidery.
Now pull off and you are just done with amazing effort.
Ironing On Using Home Use Dry Iron
Using dry iron in a home follows a similar procedure expect some changes. Here is the finest way you can do it if you don’t have a traditional heat press machine.
- Spread over the clothing on press table and remove glitches under the fabric.
- Turn on iron and match the temperature to the recommended level. Again, it’s 320 F for chenille letters for 15 seconds.
- Find your place and use paper tape to stick your patch on it.
- Place the adhesive side of the patch down and the front side face up.
- Use a fabric piece (ideally a plain tea towel) to place over the patch as a barrier to the yarn. It should halt the damage and pass through the required heat at the best level.
Be careful if you don’t have a temperature meter. In this case, you need to keep both pressure time and heat to a low level and keep checking back.
OVER TO YOU
I hope this experienced guide by Team Patches Mania will make displaying the chenille patch easiest for you. In case, you feel stuck don’t hesitate to contact us. Happy Ironing!


