Exploring Custom Shapes for Unique Patch Designs
in Custom Patches, Patch Design, ShapeExploring custom shapes for unique patch designs can greatly boost the functional value of custom patches. These shapes not only draw attention but also align with modern consumer demands for personalization. The choice of materials, like durable polyester or decorative felt, influences the patch’s visual impact from the front and border to define the overall look appealing. Proper cutting techniques like contour cutting, laser hot kiss, or merrowed edging guarantee precision.
Benefits of Custom Shapes
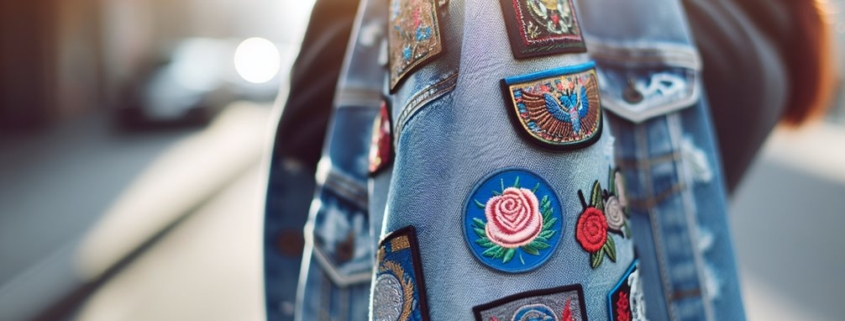
Custom shapes in patch designs offer a multitude of advantages. Traditional circular or rectangular shapes have been satisfying the growing market demand for unique, personalized badges. The tailor shapes guarantee that patches can symbolize specific brand identities, making them particularly attractive in sectors such as fashion, sports, and corporate branding.
As market demand evolves, businesses are increasingly leveraging custom shapes for brand patches. Mainly to stay relevant and competitive. This nuanced approach meets current design trends and anticipates future shifts, positioning organizations advantageously within the industry landscape.
Popular Custom Shape Ideas
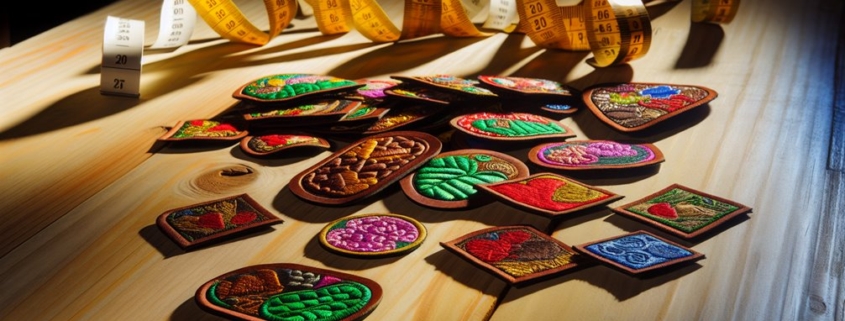
Customized shape ideas range from abstract geometric forms to recognizable icons and symbols, each offering a distinct avenue for creative expression. Geometric patterns, such as hexagons, triangles, and intricate tessellations, provide a modern approach that appeals to a wide audience. These shapes can be particularly effective when used to convey a sense of innovation and forward-thinking, making them ideal for technology or engineering-themed patches.
Nature-related Shapes
Nature motifs stand out as another popular choice, offering a connection to the natural world that resonates on an emotional level. Shapes inspired by leaves, flowers, and animals can evoke feelings of tranquility and balance, while also serving as a nod to environmental awareness. These motifs are versatile, able to represent everything from personal hobbies to organizational values.
Custom Icons
Recognizable icons, such as stars, hearts, and arrows, bring a level of familiarity and immediacy to patch designs. These shapes can convey clear messages and themes, making them effective for communication and branding purposes. When selecting a custom shape, it’s essential to reflect on the intended message and audience, ensuring the design aligns with the overall purpose of the patch.
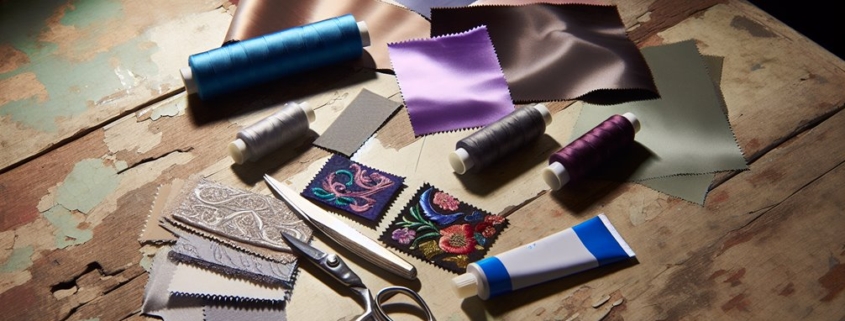
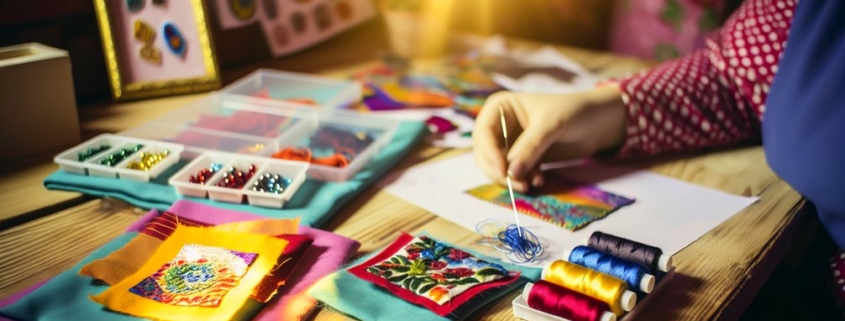
Durable Materials for Unique Shapes
When crafting unique shapes for patch designs, selecting the right materials is essential. Not every base material offers functionality that must meet the patch design. The choice of fabric influences not only the visual impact but also the patch durability. Each fabric type offers distinct characteristics that align with specific design goals, hence requiring careful consideration.
Below is a table summarizing the key aspects of common fabrics used in patch designs:
Fabric Type | Aesthetic Appeal | Durability |
Cotton | Soft texture, versatile | Moderate |
Polyester | Bright colors, sleek | High |
Felt | Matte finish, simple | Low to moderate |
Twill | Textured, classic | Very high |
Understanding these attributes aids in making informed decisions. For instance, polyester is ideal for vibrant, long-lasting patches, while cotton offers a softer touch that may require additional care. Twill, with its superior durability, is excellent for patches that endure frequent use. Conversely, felt is suitable for decorative purposes, where robustness is less critical.
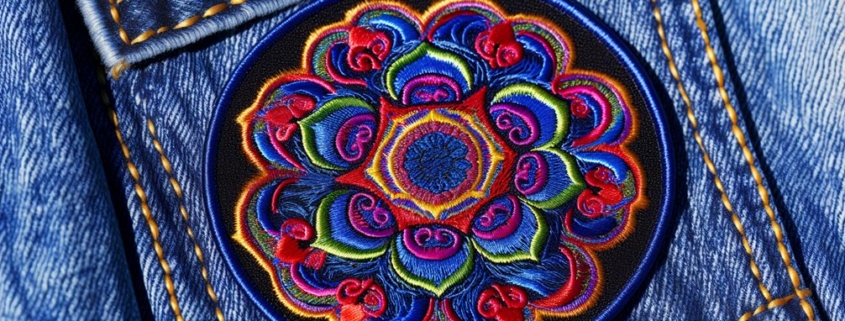
Integrating shape symbolism can heighten the patch’s impact. For example, circles often convey unity, while stars may represent aspiration or achievement. Choosing the right shape can subtly communicate a message, enhancing the patch’s storytelling power.
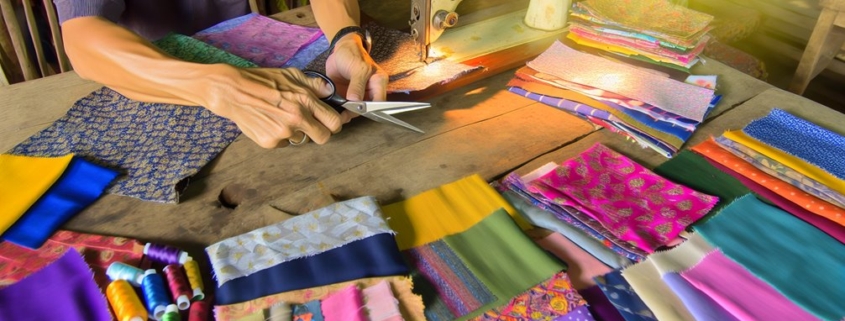
Techniques for Cutting Shapes
Crafting precise shapes for custom patch designs is a critical step in guaranteeing the final product meets aesthetic expectations.
Laser Cut Shapes
Laser cutting and die cutting are prominent methods. Laser cutting provides exceptional accuracy and is ideal for intricate designs like contour (not stitch edges). It utilizes a focused laser beam to cut through materials, guaranteeing clean edges and minimal material wastage.
Die/Mold Cut Shapes
On the other hand, die cutting involves creating a customized die, which acts like a specialized cookie cutter, to stamp out shapes from materials. This method is cost-effective for large production runs, though less flexible for intricate or varied designs.
Soldering Iron/Hand Cut Shapes
Hand cutting used a soldering iron to shape customized shapes of custom patches. Since its completely manual, hence, it needs crop finishing, making patch design refined and cleaned.
Merrowed Shapes
Another version of the unique design for patches is merrow shapes. This offers elite overlocking of the edging of custom patches. To know about this, read my blog here.
Cutting Method | Advantages | Limitations |
Laser Cutting | Precision, clean edges | Higher initial setup cost |
Die Cutting | Cost-effective, fast | Limited to simpler shapes |
Hand Cutting | Custom flexibility | Time-consuming, less precise |
Understanding these techniques is essential for designers seeking to create unique, high-quality patches that stand out. Each method has its niche, and selecting the right one guarantees the efficiency and quality of your design process.
Creative Examples of Customized Shapes
Building on the foundational elements of logos and text integration, a showcase of creative examples demonstrates the limitless potential of custom patch designs. These examples serve as artistic inspiration, illustrating how shape symbolism can transform a simple patch into a meaningful statement. By carefully selecting shapes, designers convey messages that resonate deeply with their intended audience.
- Nature-Themed Shapes: Leaves, mountains, and waves symbolize growth, stability, and fluidity, respectively, often appealing to environmentally conscious groups.
- Geometric Designs: Triangles, circles, and hexagons offer modern aesthetics and can represent concepts like unity, continuity, and balance.
- Animal Motifs: Animals such as owls and lions embody wisdom and strength, making these shapes ideal for educational institutions or sports teams.
- Cultural Symbols: Incorporating cultural icons can honor heritage and tradition, fostering a sense of identity and belonging.
- Abstract Creations: Unique, non-representational shapes allow for personal interpretation, inviting viewers to derive their own meanings.
These examples highlight the power of custom patch designs to transcend mere decoration. Each shape tells a story, providing a unique platform for expression. The careful choice of shape symbolism guarantees that a patch is not just seen but felt, resonating on a deeper, more personal level.